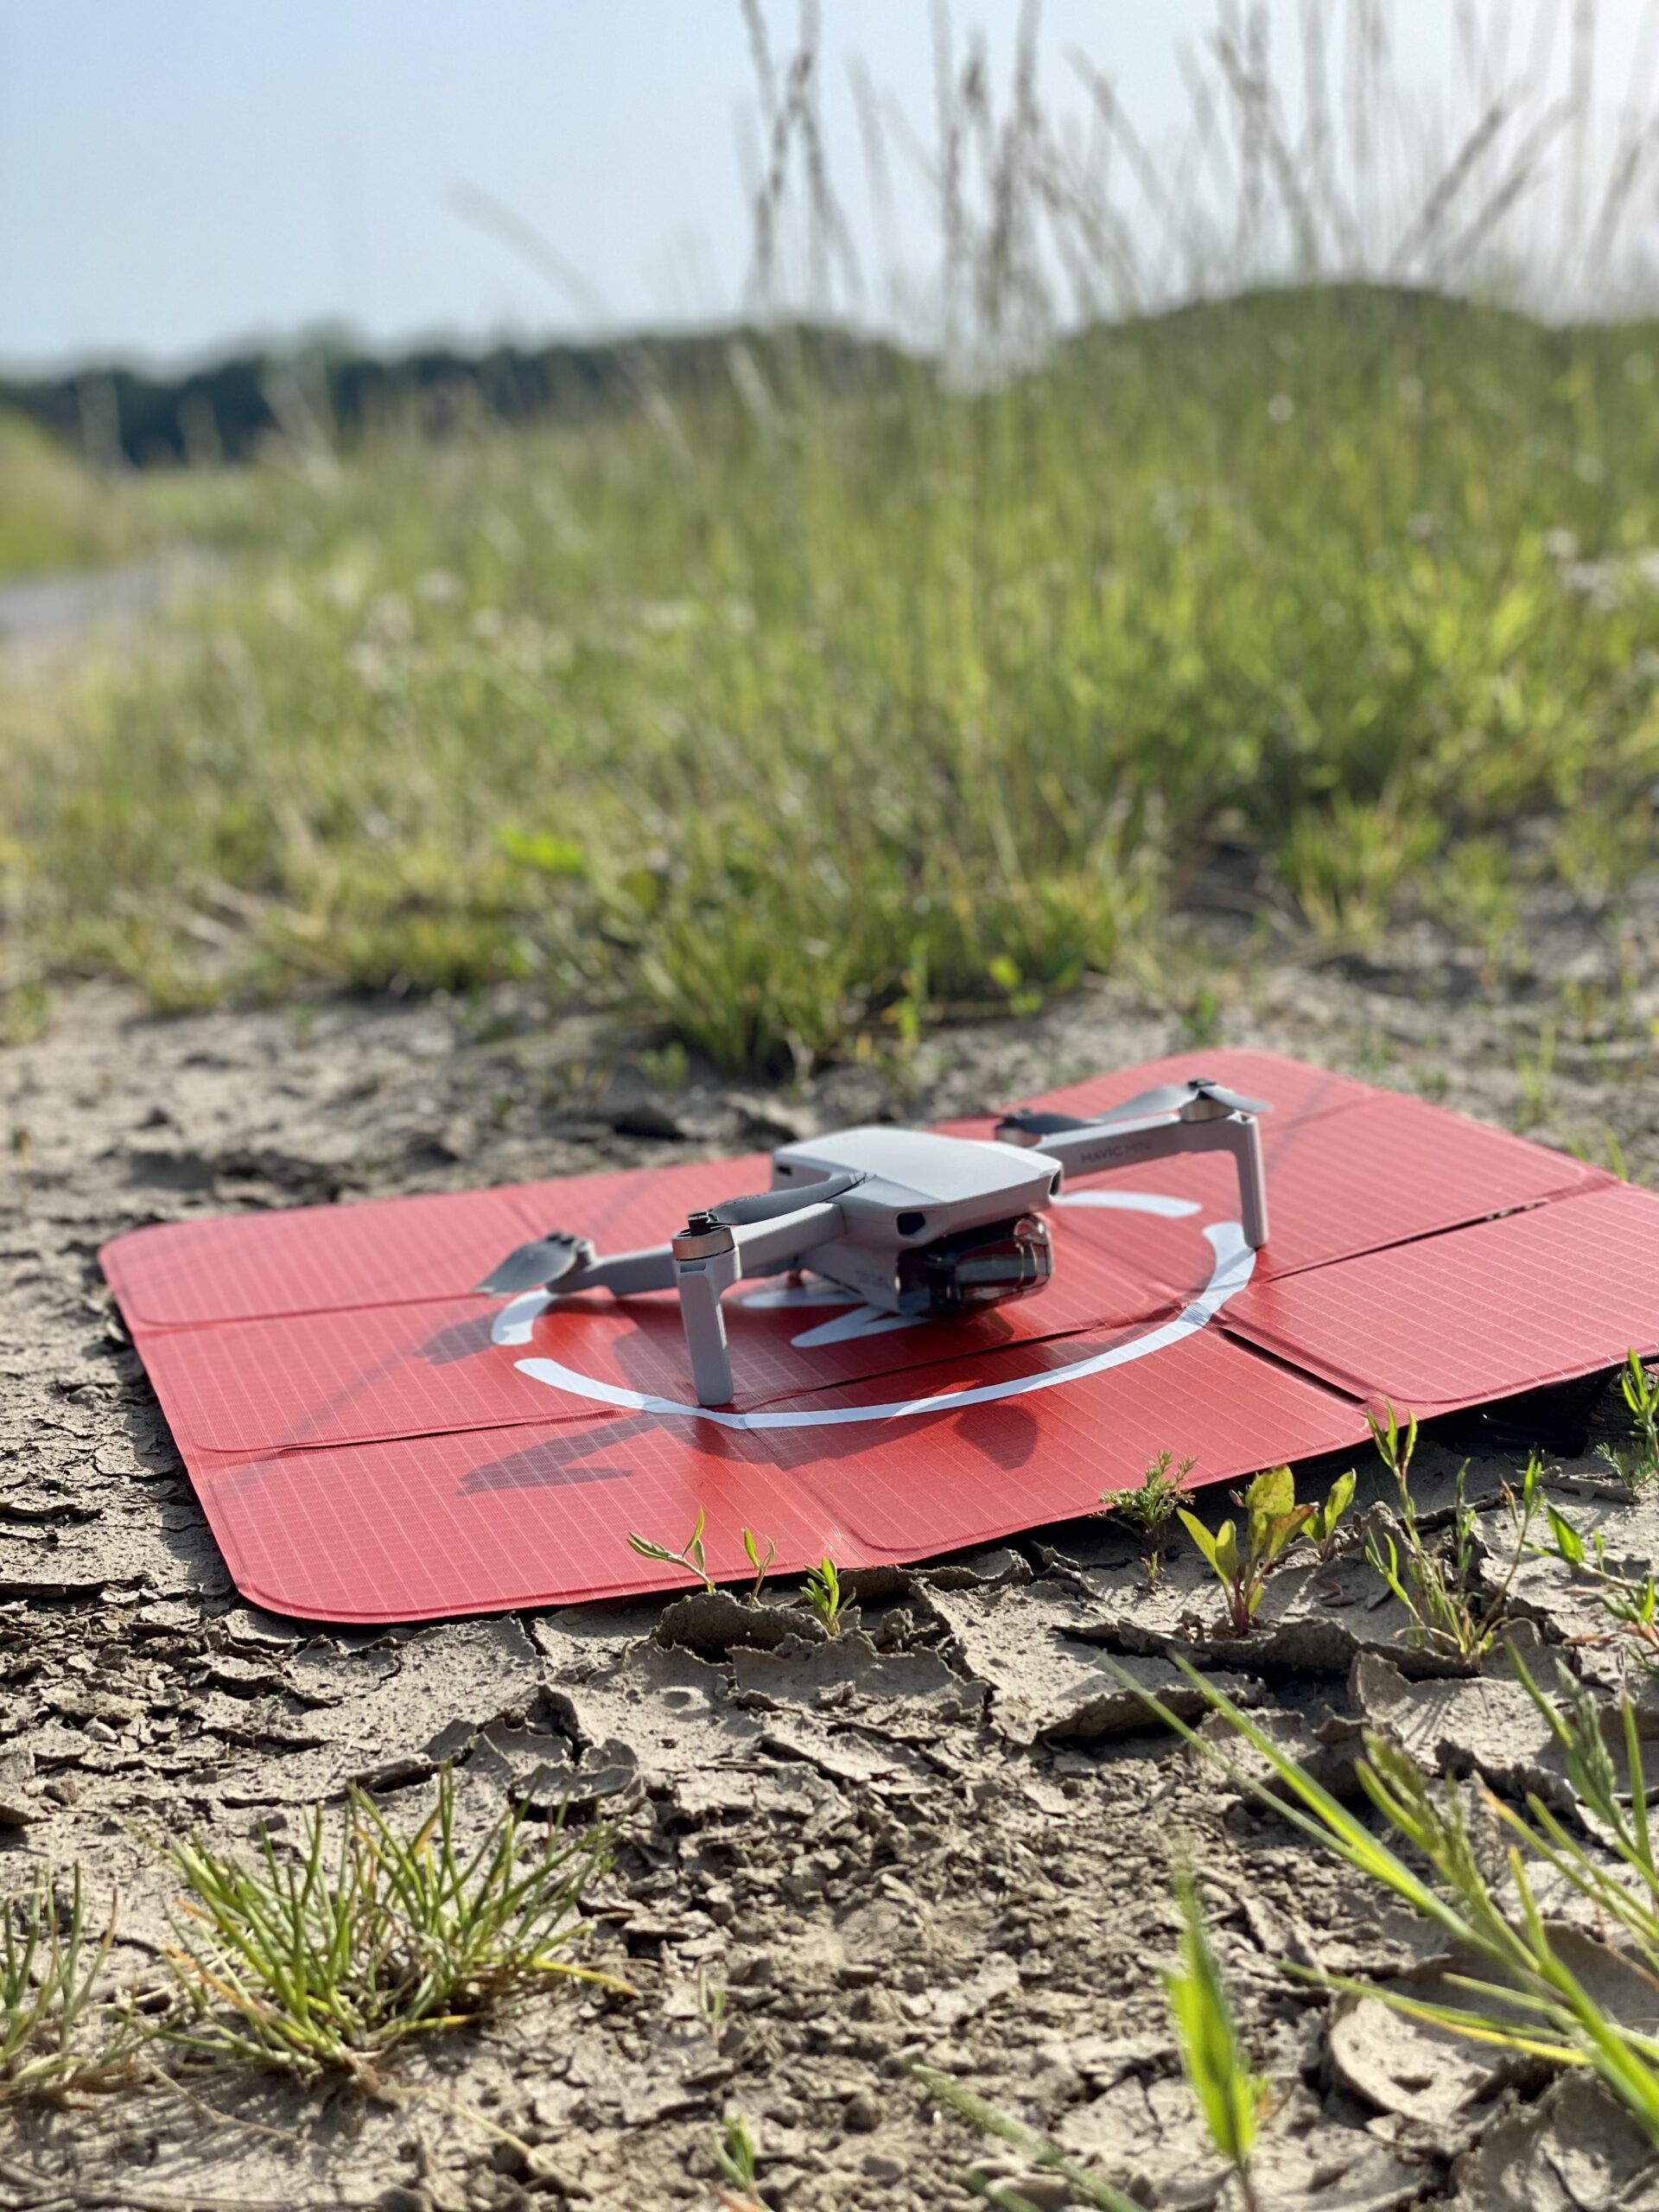
Since a few of my colleagues have asked about how I use a drone to conduct aerial surveys and photography on potential battle sites, I thought it might be worth a quick post on the drone I have and how I travel with it.

First things first, if you’re going to use a drone — at home or abroad — you must follow all laws and regulations at your location. If those rules don’t match my advice, please follow the rules and not me, ok? I’m not a lawyer. I’m an amateur drone user at best!
That out of the way, I’ll tell you that most jurisdictions draw a bold line between heavy drones that require licensing and substantial flight permissions and lighter drones that have far fewer restrictions. The general rule of thumb is that the line between them is drawn at 250 grams.
So the first advice I have if you’re going to use a drone — especially if you’re going to use it abroad — is that you get one that weighs less than 250 grams.
This will mean sacrifices. It won’t have an IMAX camera. More pertinent, a drone of this size will, because of its lightness, have difficulty in high winds. Also, it likely won’t have some of the most advanced bells and whistles, either, like collision avoidance, object tracking, on-board LiDAR, etc. It’s going to be pretty basic, in other words, though these days “basic” covers a lot of awesomeness.
I use a first generation ‘Fly More’ Combo DJI Mavic Mini from DJI. The drone in flight weighs 249 grams — they even make a point of printing this on the drone itself just for good measure. There are cheaper drone makers than DJI, which is one of the biggest brands in the world of drones, but I like that the ubiquity of DJI means a lot of online resources to get help using it, plus a wide pool of parts on the market if something goes wrong.
If you’re just starting out, I do recommend that you look to get a drone used, even if it’s a generation or two back. A lot of drone hobbyists quickly jump on the next generation and are keen to part with their older ones cheap. For instance, mine is the original Mini, but DJI now makes Mini 2, Mini SE, and Mini 3 models. The last of these has some really terrific advances, but it also comes with a much higher price tag. Would I like to have a new Mini 3? Sure, but it’s many hundreds of dollars more money than mine.
I do highly recommend a ‘travel kit’ set up if you can get it. These will have the smallest controller and battery charging stations, and space matters when you’re traveling (especially if you One Bag Travel like I do). I’d recommend at least three batteries. You can crush juice quick if you’re going high and far in search of the perfect angle and shot.

Speaking of space, I don’t use the case that came with my drone. It’s a lovely case, as you can see above, but it makes for a substantial, inflexible mass when packing. Instead, I separate my drone into three pieces: drone, controller, and battery charger.
If you do decide to separate the drone from its designated case, I highly recommend getting a propeller strap that wraps around the drone and holds its propellers in place (get the one that matches your drone, obviously). This is a trick I picked up from a drone operator on a film shoot, and it’s brilliant. The propellers are easily the most breakable thing on the drone, and keeping them hugged in place is the best way to keep them safe while traveling.

To save the propellers while the drone is flying around, you don’t want them to hit anything, and for this reason the drone will likely come with a thin plastic cage that can surround it. This is quite nifty, though I confess I never use mine. It’s too bulky to fit in my bag. I mostly just try not to fly into trees.
A less obvious way to screw up your fragile little propellers, though, is in the course of landing. With a lightweight drone, even coming down in soft grass has a chance of catching a blade and ruining your day. For this reason, I recommend using a fold-up landing mat. I use a discontinued one from Moment that is built for this purpose and packs up real nice, but there are others. You don’t even need to buy one: all you need is something (a piece of cardboard, even) that you can lay out over the brush to keep it down and give you a wide, flat place to land. That said, I do like using something with bright color, which stands out as a marker on the landscape when I’m guiding my drone in for final approach.
Last piece of advice: have fun. Yes, you need to be hyper-vigilant to be safe and follow local regulations, maintaining line of sight to your drone, keeping it clear of people, and so forth. But along the way don’t forget to marvel at what an awesome tool it is, and what a wonder it is for us as earth-bound creatures to know — at least through a screen — what it’s like to fly.


